Orchid Potting Mix: 1 Stupid-Simple Way to Not Fail
Affiliate Disclosure: This post contains affiliate links. If you make a purchase through these links, I may earn a small commission at no extra cost to you. I only recommend products I believe will add value to your gardening journey. Thank you for your support!
Orchid potting mix might be the last thing on your mind when you stare at that grocery store orchid, a beacon of impossible elegance, and think, “This time will be different.” You bring it home, give it a name, and introduce it to your other plant children. Then, weeks later, you’re holding a funeral for a pot of limp, sad leaves. If you’ve ever felt personally victimized by an orchid, you are not alone. These plants have a reputation for being the dramatic final boss of the houseplant world, and many of us carry the emotional scars of repotting attempts that ended in heartbreak.
But what if I told you the secret to not being a plant serial killer isn’t some mystical chant or a PhD in botany? What if the single most important factor between a thriving, re-blooming orchid and a tragic, crispy-leafed ghost is something incredibly simple? It all comes down to what its roots are sitting in. The one stupid-simple way to not fail is to use the right orchid potting mix.
Why Your Orchid Thinks Its Pot Is a Swampy Nightmare
Here’s the hard truth: you cannot, under any circumstances, plant an orchid in regular potting soil. Doing so is the botanical equivalent of asking a cat to enjoy a bubble bath. It will not end well.
In the wild, most orchids are epiphytes, which is a fancy word meaning they grow on other plants, like tree trunks, not in the ground. Their roots are sassy, independent characters that crave airflow and hate being suffocated. When you stuff them into dense, regular soil, you’re essentially drowning them. The soil holds too much water, cuts off air circulation, and leads to the dreaded root rot—the number one killer of well-intentioned orchid dreams. A proper orchid potting mix is designed to mimic their natural, airy home.

Deconstructing the Magic: What’s Actually in This Stuff?
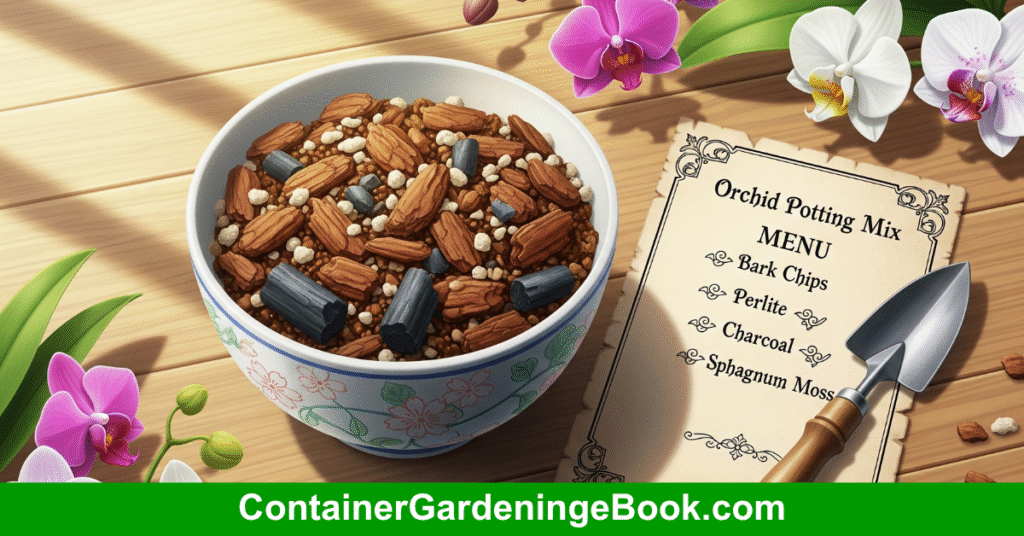
So, what makes a good orchid potting mix different? It’s less like soil and more like a chunky, well-aerated trail mix for roots. While recipes vary, they all revolve around providing two key things: excellent drainage and fantastic aeration. Here are the all-stars of the blend:
- Fir Bark: This is the main event. These chunky pieces of bark provide a stable structure for roots to grab onto while leaving plenty of air pockets. Think of it as a spacious loft apartment for your orchid’s roots.
- Sphagnum Peat Moss: This fluffy material is a moisture-retaining champion, which is great for orchids that like to stay a bit damp or for those of us who live in dry climates. A word of caution: if packed too tightly, it can hold too much water, so it’s all about balance.
- Perlite: Those little white, styrofoam-like rocks are actually volcanic glass. They don’t hold water but are fantastic for keeping the mix light and airy, preventing it from becoming a compacted brick over time.
- Horticultural Charcoal: Think of this as a Brita filter for your pot. Horticultural charcoal helps absorb impurities, excess fertilizer salts, and keeps the orchid potting mix from getting funky.
Create Your Perfect Custom Mix Instantly
The Potting Mix Genius
Enter the name of your plant, tree, cactus, etc..
to get a pacific match to your plants potting mix needs.
The DIY vs. Store-Bought Debate
Many seasoned orchid growers love to create their own custom orchid potting mix, and you absolutely can too. It can be cost-effective and allows you to create the perfect blend for your specific plant and home environment. A great starting point for many common orchids is a simple ratio of 4 parts medium-grade bark, 1 part charcoal, and 1 part perlite.
However, if you’re still recovering from past plant trauma, buying a high-quality, pre-made orchid potting mix is a fantastic, stress-free option. It takes the guesswork out of the equation and ensures your plant gets a balanced, safe home from the start. Just make sure the bag explicitly says it’s for orchids and isn’t just regular soil.

The Repotting Ritual (Minus the Human Sacrifice)
The act of repotting is often where things go wrong, leading to what orchid owners call “transplant shock.” But it doesn’t have to be terrifying.
When to Repot:
Your orchid will give you signs. Repot every one to two years, or when you see these clues:
- White roots are making a break for it and growing out of the pot.
- The current orchid potting mix has broken down and looks more like dense soil than chunky bark.
- The roots inside the pot look brown, mushy, or rotted.
The absolute best time to do this is right after it has finished blooming and you see signs of new growth, like a tiny new leaf or root nubbin. Never repot while it’s in full bloom unless it’s an absolute emergency, as it will likely drop its flowers out of pure spite.
How to Repot (The No-Tears Method):
- Gently Remove: Carefully work the orchid out of its old pot. If it’s really stuck, it’s better to cut the plastic pot away than to break the roots.
- Clean the Roots: Shake off the old, broken-down potting medium. Using clean scissors, snip off any roots that are brown and mushy or dry and wiry. Healthy roots are firm and green or white.
- Place in New Pot: Choose a pot that is just 1-2 inches larger than the last one. Place a small layer of fresh orchid potting mix in the bottom.
- Fill ‘er Up: Hold the orchid in the center of the pot and gently add more orchid potting mix around the roots, tapping the pot to help the pieces settle. Fill until the base of the lowest leaf is just at the top of the mix.
And that’s it. You did it. You faced the orchid’s greatest challenge and survived. By giving your plant a home it loves with a proper orchid potting mix, you’ve already won half the battle. Welcome to the other side, where your orchids don’t just survive; they actually thrive.

The Great Orchid Potting Mix Showdown: DIY vs. Store-Bought
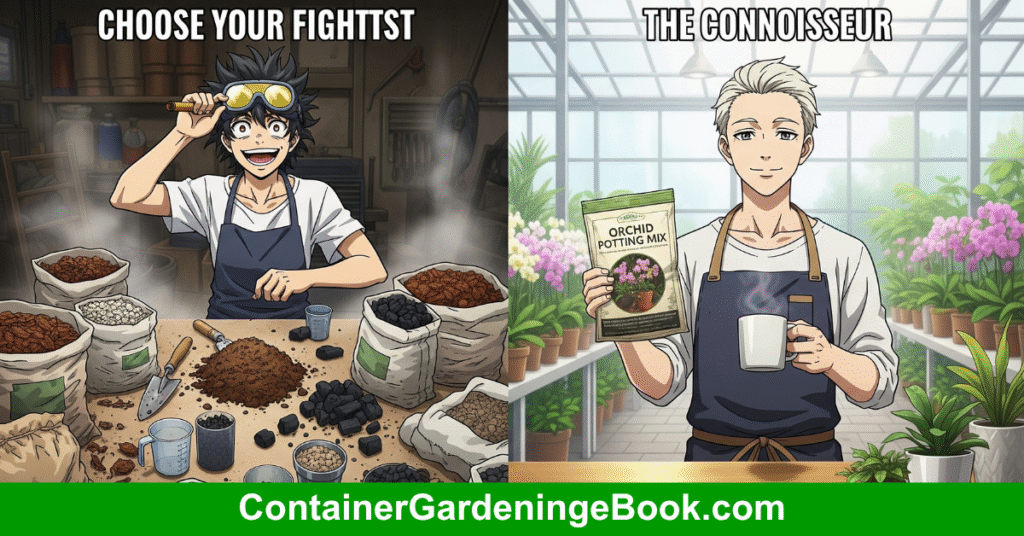
So, you’ve accepted that your orchid needs a special home, not just any old dirt. Now you face the great philosophical question of our generation: do you become a bespoke artisan of plant soil, or do you trust the experts and buy it in a bag? This is the DIY vs. store-bought debate, and there’s no wrong answer—only what’s right for your sanity.
The Case for DIY (The “I Am a Kitchen Chemist” Approach)
For the plant parent who loves control, who color-codes their bookshelf, and who has a specific watering schedule for each plant, making your own orchid potting mix is a deeply satisfying power trip. Many seasoned growers swear by it, and for good reason. It’s often more cost-effective, especially if you have a growing plant family, and it gives you the ultimate power to create the perfect blend for your specific orchid’s diva-like demands. Is your apartment drier than a forgotten bag of chips? Add more sphagnum moss for moisture retention. Do you tend to overwater out of pure, anxious love? Go heavier on the bark and perlite for drainage that could survive a monsoon.
Becoming a master of orchid potting mix is your chance to play mad scientist for your plants. A fantastic, all-purpose starting recipe that’s hard to mess up is a simple ratio of 4 parts medium-grade fir bark, 1 part medium charcoal, and 1 part perlite. This blend provides the chunky, airy environment that most common orchids, like Phalaenopsis, absolutely crave. Think of it as the gateway drug to becoming a full-blown mixologist, tailoring every batch to perfection.
The Case for Store-Bought (The “Peace of Mind” Protocol)
Now, let’s be real. Many of us are still recovering from past plant-related trauma. If the thought of measuring out bark gives you flashbacks to that one fiddle-leaf fig incident we don’t talk about, there is absolutely no shame in the store-bought game. Buying a high-quality, pre-made
orchid potting mix is a fantastic, stress-free option that takes all the guesswork out of the equation. You’re not just buying a bag of stuff; you’re buying confidence. It’s the ultimate convenience for the plant parent who wants to provide the best without the anxiety.
However, not all bags are created equal. The one crucial rule is to make sure the package explicitly says it’s an orchid potting mix. If it looks like fine, dense soil, put it back. You want to see chunky bits of bark, perlite, and charcoal through the bag. A good quality commercial orchid potting mix will be proud of its airy, well-draining ingredients. Avoid any brand that seems to have “secret ingredients” or doesn’t list what’s inside. Also, give that bag a little squeeze; if it feels like it’s been sitting on a shelf since the dawn of time, it might have already started to break down, which defeats the whole purpose. Freshness matters, even for dirt.
Feeling Brave? Unlock More Plant-Saving Secrets Here.
Enjoyed this guide and feeling that spark of confidence? Don’t let the green-thumb momentum stop here! If you’re ready to tackle more container gardening challenges, or just want more tips and tricks to keep your plant family thriving, head over to our blog at containergardeningebook.com/blog. We’ve got all the guides and emotional support to help you keep your plant babies alive and happy.

Leave a Reply